上一篇讲了Python的特色及应用 本文讲如何搭建Python开发环境。
如何搭建Python的开发环境,
1. 建立Python的开发环境
2.第一个Python程序,还是从Hello World开始
3. debug一下python程序
<1>. 建立Python的开发环境;
这里使用的Python的开发环境是eclipse + pydev插件来配置python的开发环境,如果想要在命令行下使用python的话,需要设置计算机的环境变量。
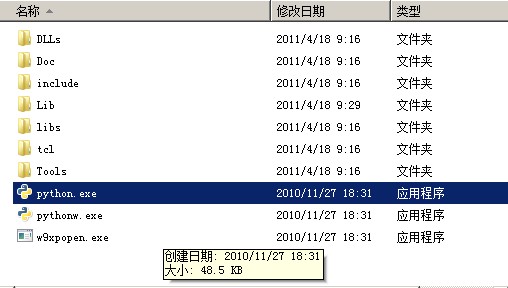
1.1 下载Python的安装包. 安装Python。
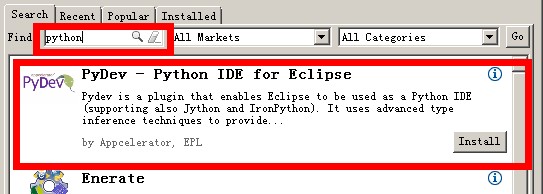
1.2 安装eclipse插件
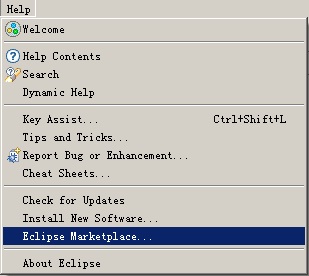
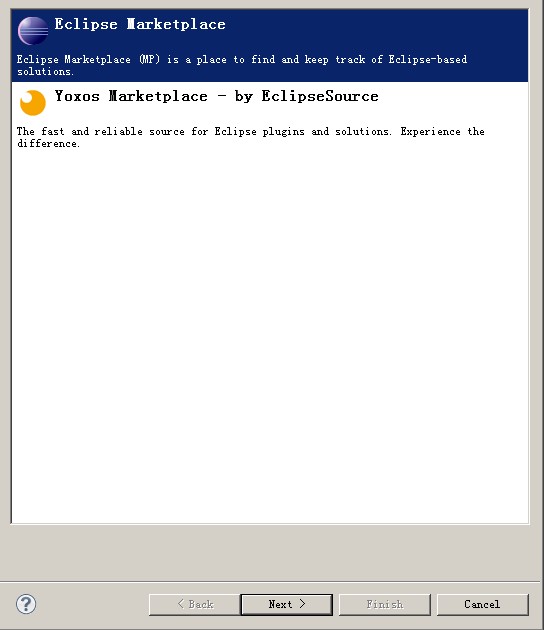
查找该插件,并安装,注意安装过程中可能存在需要trust插件的情况,直接选择信任即可。
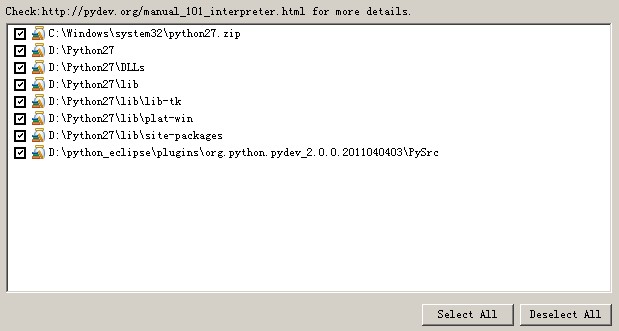
然后等待插件安装完成即可,重启eclipse,下面需要设置eclipse的pydev的插件的环境。
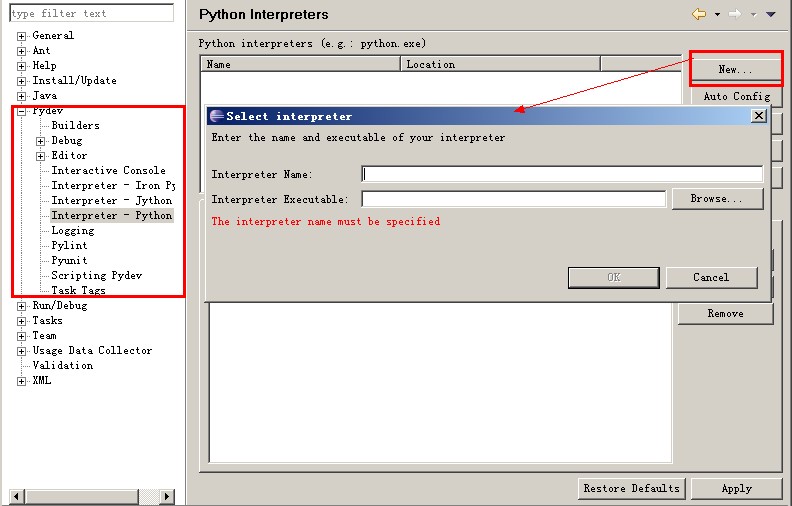
选择刚才python完成路径下的python.exe解释器。
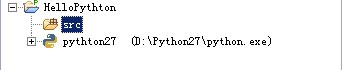
最终完成之后的效果如下:
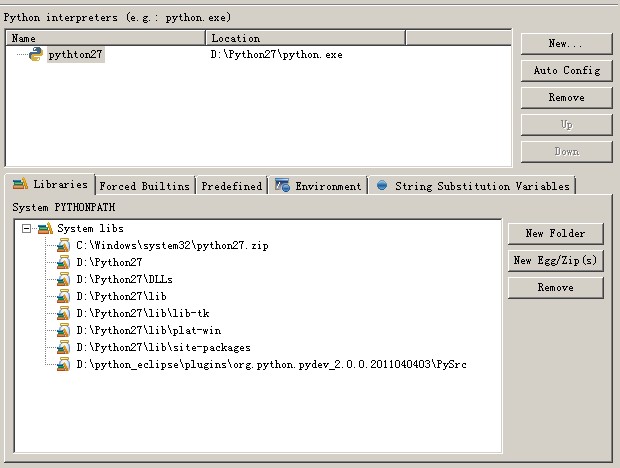
至此python的开发环境已经建立完成,下面还是从hello world程序开始。
<2>.第一个python程序,还是从Hello World开始
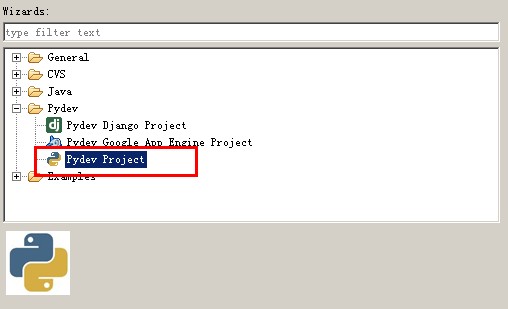
新建一个python工程。
键入工程名,点击完成,将生成一个python project:
我们新建一个python module。
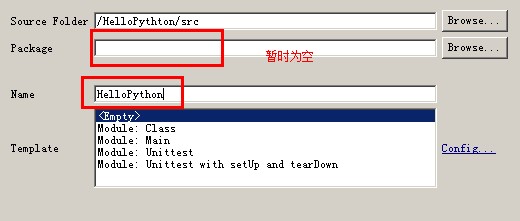
上面将创建一个名为HelloPython.py的文件。下面我们添加一句来打印出熟悉的hello world。完整的代码如下:
Created on 2011-4-18

@author: xuqiang

print("hello world")
点击 ctrl+ f11,我们熟悉的hello world有一次出现。既然已经能够建立python的开发环境,同时写一个简单的helo world程序,那么下面我们来看看如何来debug一个python程序。
<3>.试着debug一下程序
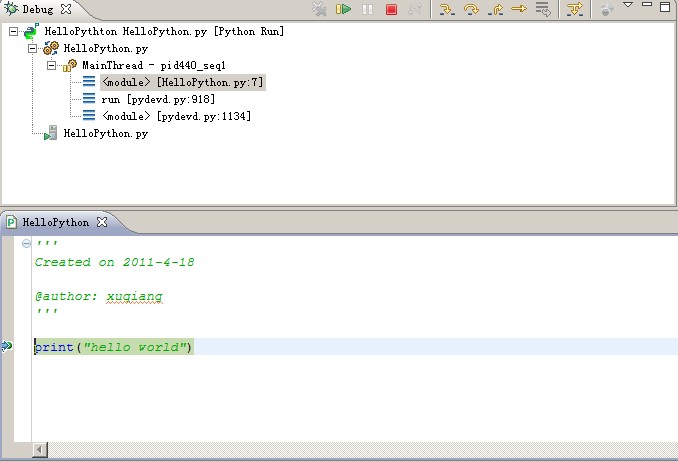
在eclipse+pydev的集成环境下debug程序是相对比较简单的,和eclipse调试java程序几乎是完全一样。
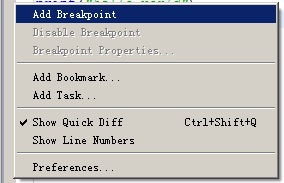
设置断点:
启动调试,看看是不是和java的调试的界面很相似。
至此,我们回头来看看我们已经到了那里:
1. 成功建立了python的开发环境
2. 能够编写hello python这样简单的程序
3. 能够在集成环境中debug程序。
在完成了对于环境的熟悉之后,接下来我们将通过python官方的tourial来学习python。
来自:http://www.cnblogs.com/xuqiang/archive/2011/04/18/2019484.html